AWS SES を利用する際、最初は Sandbox(制限付き環境)になっており、
外部メール送信を行うには「本番アクセス申請」が必要です。
本記事では、実際に通りやすい申請テンプレートを紹介します。
■ なぜ申請が必要か
AWS SESはスパム対策のため、初期状態では以下の制限があります。
・送信先が制限される
・本番運用できない
👉 そのため「本番アクセス申請」が必要です
■ 結論(このテンプレでOK)
👉 以下をそのまま入力してください
■ 英語版(推奨)
■ Use case description
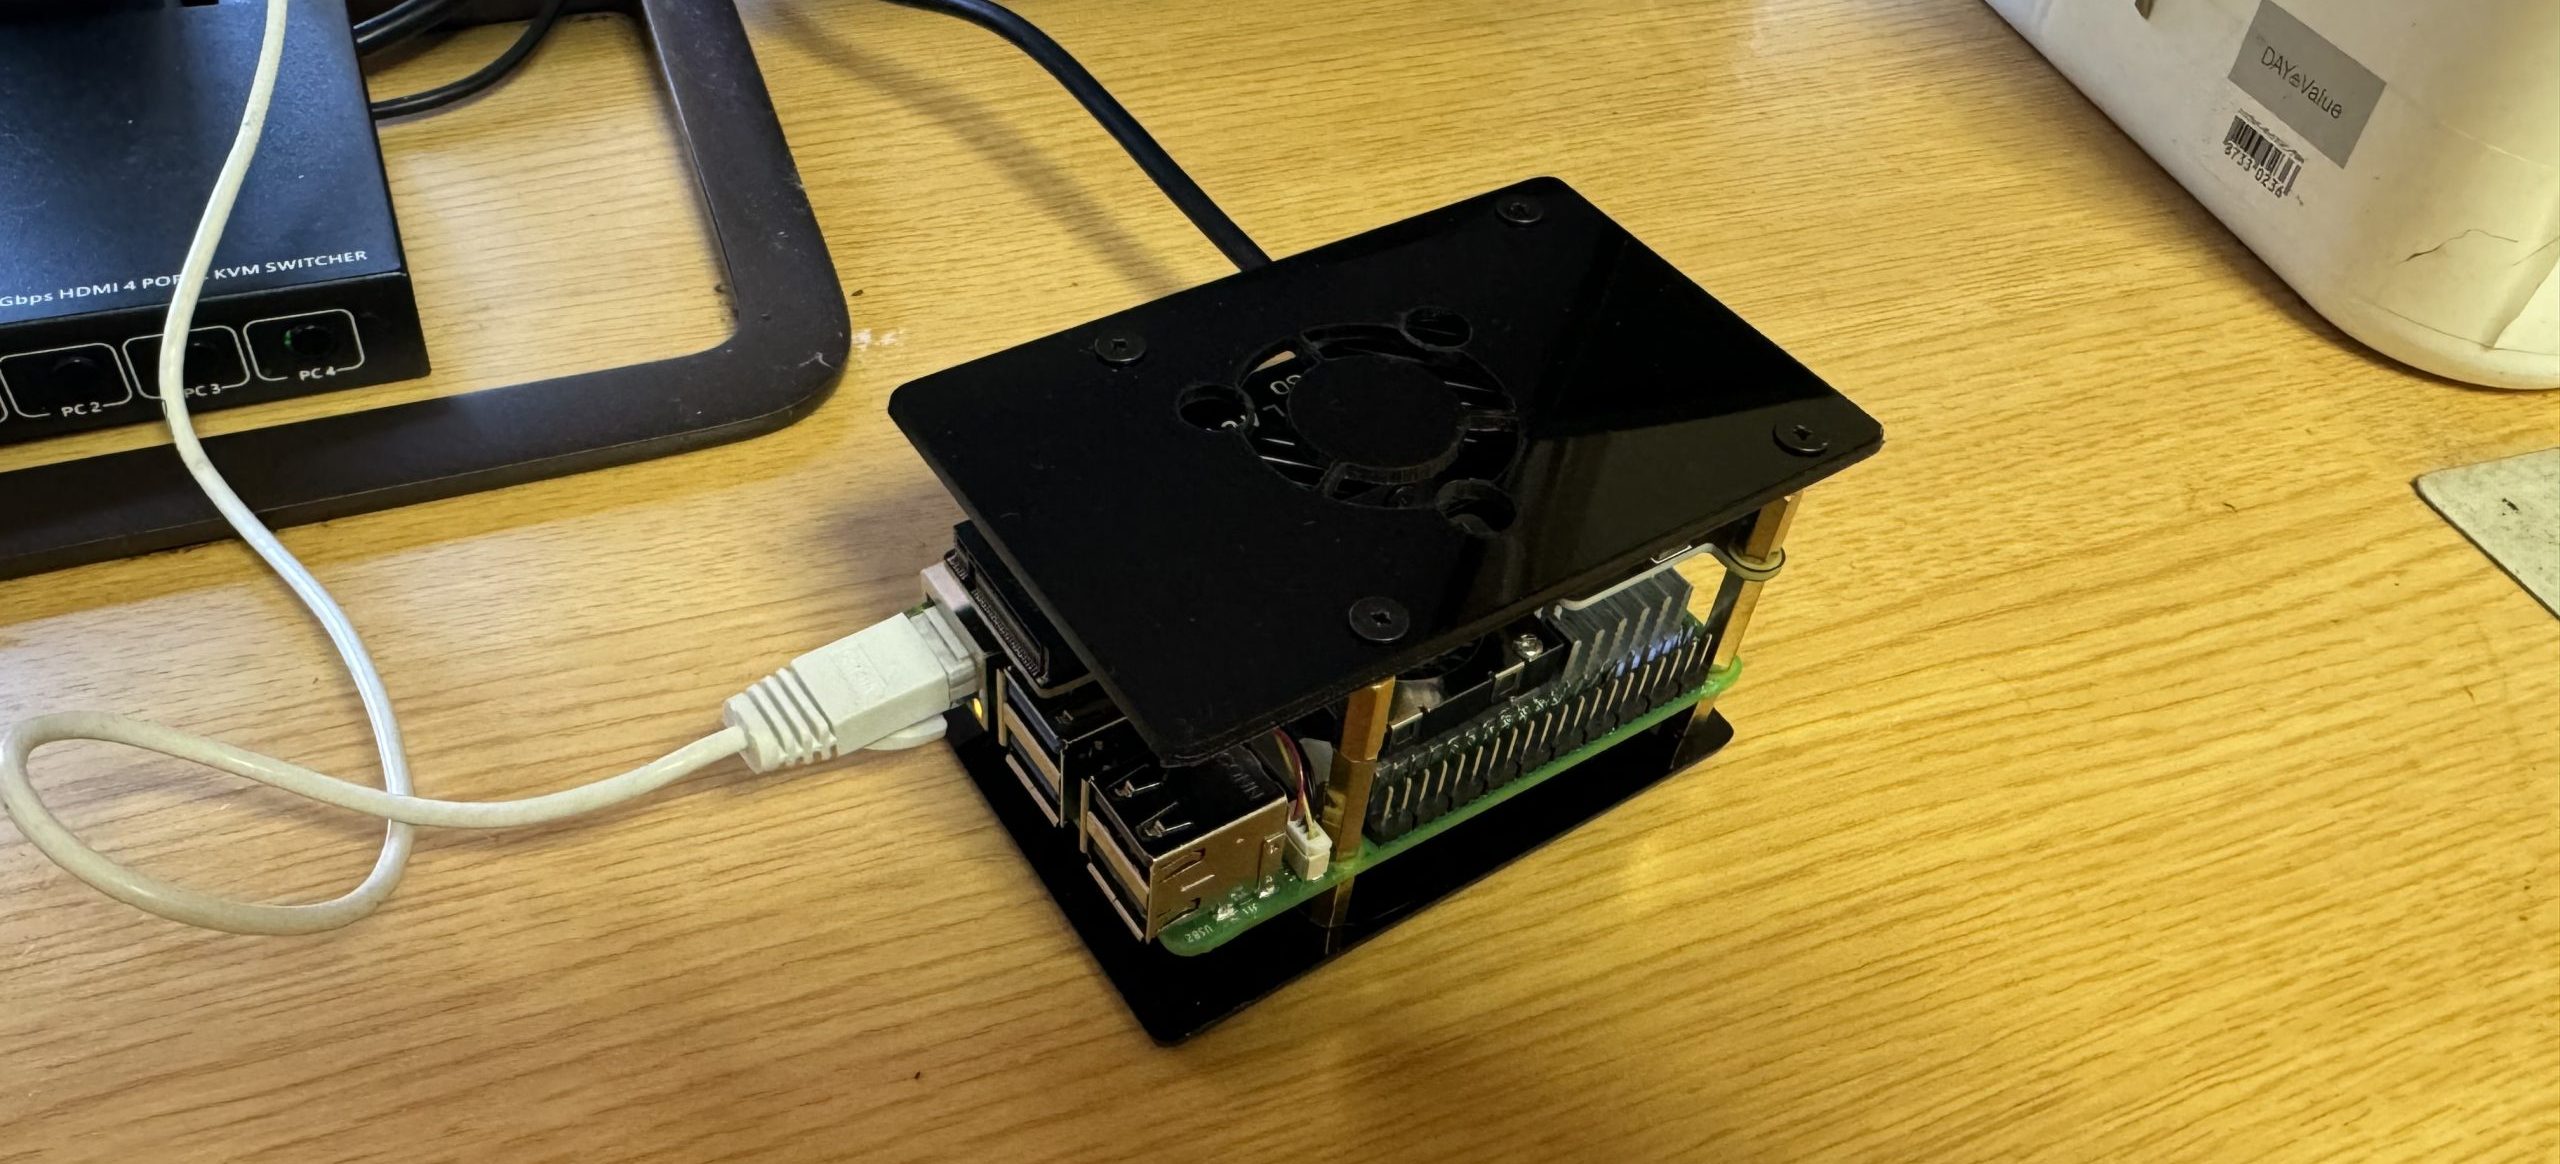
I am using Amazon SES for a self-hosted server environment based on Raspberry Pi and Ubuntu Server.

The purpose is to send transactional emails such as:

- Test emails to myself
- Server monitoring notifications (backup results, alerts, etc.)
- Notification emails from personal web services (e.g., WordPress)

I will not send marketing or bulk emails to third parties.
■ Mail type
Transactional
■ Recipients
Only my own email addresses (e.g., personal Gmail account)
■ Bounce and complaint handling
I will monitor bounces and complaints and stop sending emails if any issues occur.

Since emails are only sent to my own addresses, complaints are not expected.
■ Sending volume
Low volume (testing and notification purposes)
■ Additional information
I will properly configure SPF, DKIM, and DMARC to ensure compliant email sending practices.
■ 日本語版(参考)
■ 使用目的
Raspberry Pi と Ubuntu Server を用いた自宅サーバーの構築・検証環境として、メール送信機能のテストおよび運用を行います。

・自分宛てのテストメール送信
・サーバー監視通知(バックアップ結果、障害通知など)
・Webサービス(WordPress等)からの通知メール送信

第三者への大量配信やマーケティング目的のメール送信は行いません。
■ メール種別
トランザクションメール
■ 送信先
自分自身のメールアドレスのみ
■ バウンス対応
問題が発生した場合は送信を停止します
■ 通過のポイント(重要)
👉 AWSが見ているポイント
✔ OK
・自分宛
・通知用途
・少量送信
❌ NG
・大量送信
・広告
・メルマガ
👉 このテンプレは安全な内容です
■ 申請後の流れ
- 申請送信
- 数時間〜1日で審査
- 承認メール
- Sandbox解除
■ 注意
・SPF / DKIM / DMARC設定は必須
・送信制限は最初は低め
■ 関連記事
→ OB25対策(SMTPリレー)
→ AWS SESでメール送信する方法
→ メール到達率改善
→ DNS設定(SPF / DKIM / DMARC)
👉 本サイトでは実運用ベースで解説しています
コメント